
Last updated October 17, 2026
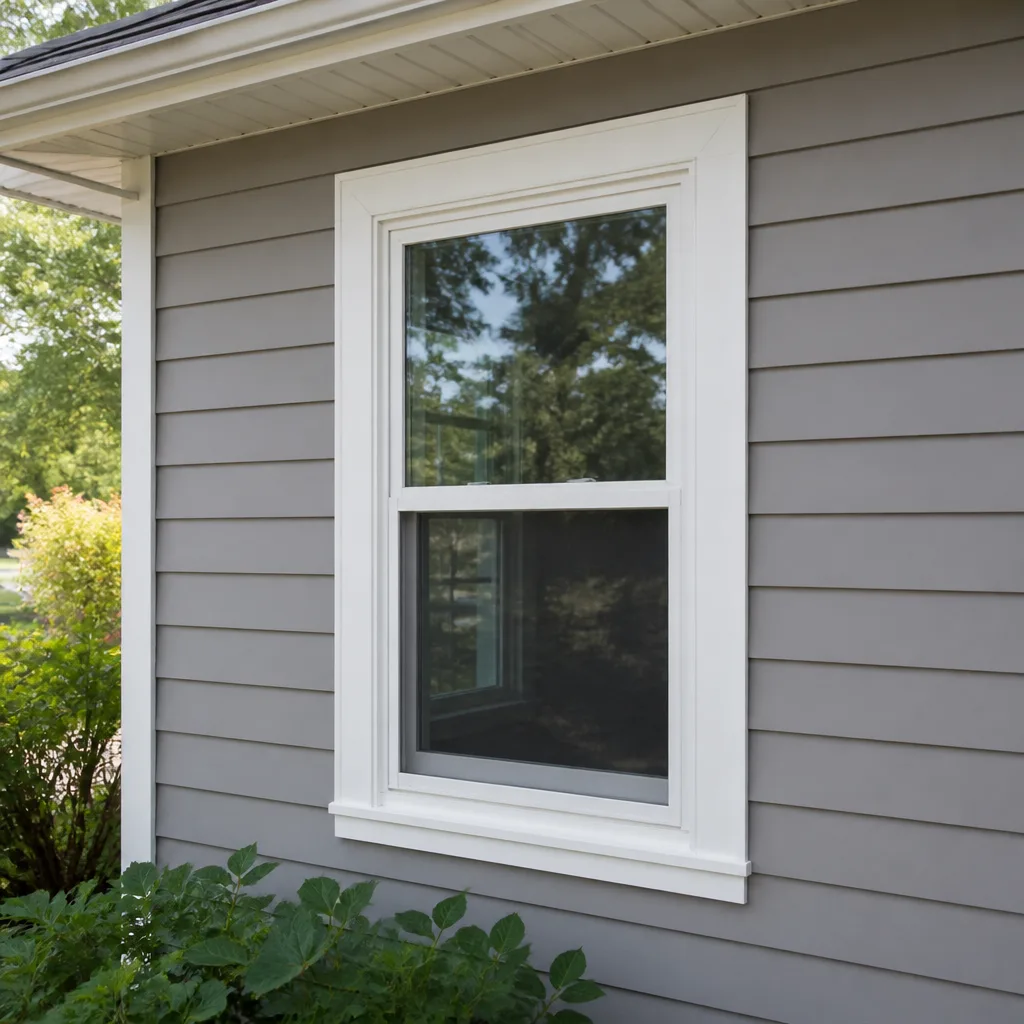 Single hung
 Double hung
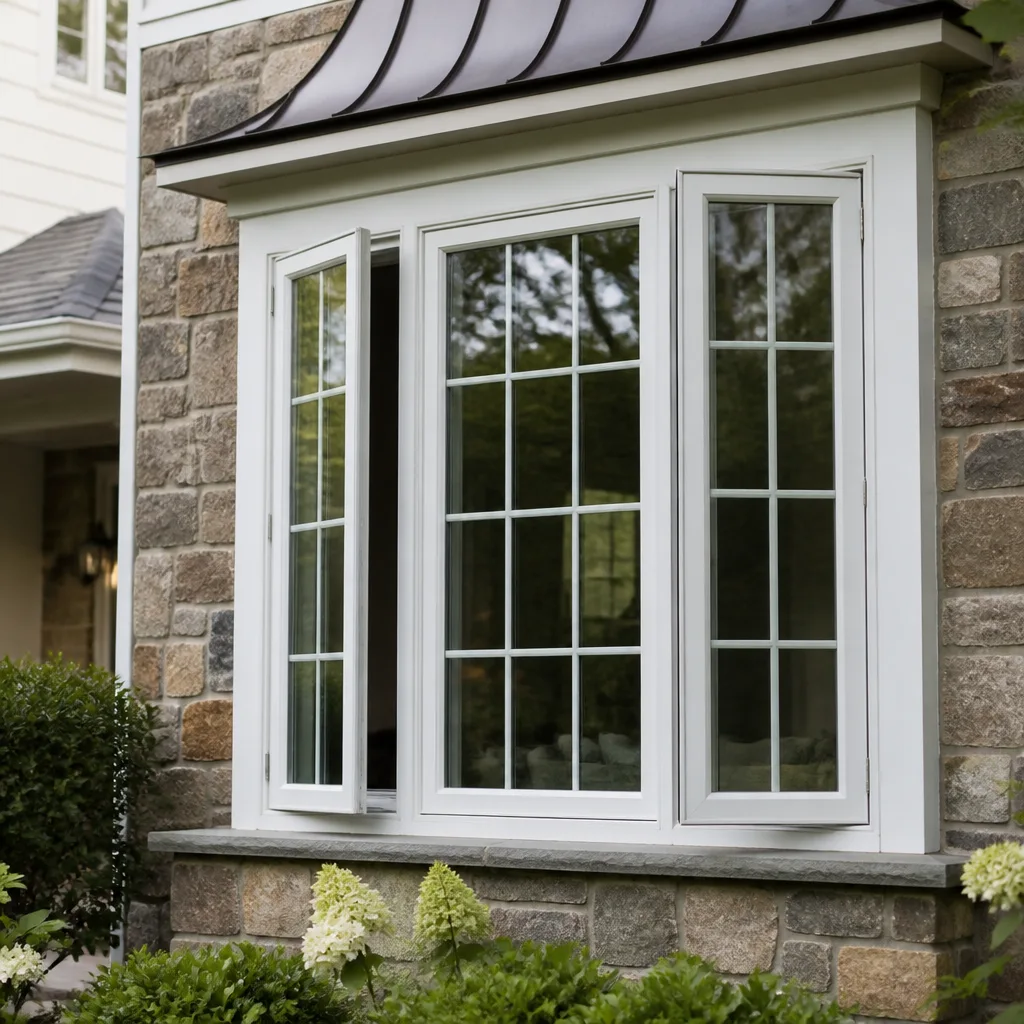 Casement
 Bay & bow
 Entry doors
 Impact garage doors
 CGI
CGIFree in-home measure and quote - PGT, CGI and CWS impact lines compared on your actual openings, style by style
Get your free estimateWindow Replacement Maintenance Checklist for San Antonio Homeowners
A clogged weep hole costs nothing to clear with a toothpick. Ignored for one rainy season in San Antonio, that same clog traps water inside the window frame, rots the rough opening, and turns a 40-second cleaning into a $1,200 framing repair. Most maintenance checklists treat windows like a seasonal chore. This guide treats them as a diagnostic system built around the failure points that San Antonio’s heat, humidity spikes, and caliche dust accelerate faster than any manufacturer’s warranty assumes. You’ll learn how to test for argon seal failure without tools, where caulk chemistry matters most, and how to keep a written record that makes future maintenance or replacement decisions faster and cheaper.
Styles & brands we work with
Quick Answer
A San Antonio window maintenance checklist should be organized by failure point, not season: clear weep holes and drainage channels after every major storm, test double-pane units for seal failure each spring and fall, inspect frame-to-wall caulk for separation before and after the rainy season, and keep a written log of what you find so any contractor can price repair versus replacement accurately on the first visit. Most of these checks take under ten minutes per window and catch problems while they’re still $40 fixes rather than $1,200 structural repairs.
Table of Contents
- Room-by-Room Inspection Sequence for San Antonio Exposures
- How to Clear Weep Holes and Inspect Drainage Channels
- Testing for Argon Seal Failure Without Any Tools
- The Right Caulk Chemistry for San Antonio Temperature Swings
- A Written Record Template That Saves You Money Later
- Storm Season Checks After Hill Country Rains
- Common Mistakes to Avoid
- When to Call a Professional
- Frequently Asked Questions
- The Bottom Line
Room-by-Room Inspection Sequence for San Antonio Exposures
Not every window in a San Antonio home ages at the same rate. A south-facing window in Alamo Heights takes roughly three times the cumulative UV exposure of a north-facing window in the same house. A west-facing window over a caliche driveway gets scoured by reflected heat and dust every afternoon from April through October. So the smartest inspection order isn’t front-to-back. It’s worst-exposure-first.
Here’s the sequence we recommend, based on what San Antonio’s climate actually does to window assemblies:
- West-facing windows, especially first floor. These get the harshest afternoon sun and the most thermal expansion cycling. Check caulk lines and frame corners first. If a window is going to fail in this city, it usually starts here.
- South-facing windows. Constant UV exposure degrades glazing seals and weatherstripping. Look for brittle gaskets and any glass haze that doesn’t wipe off from the inside.
- East-facing windows. Morning humidity condenses on these first. Check for weep hole blockage and any swelling around wood trim or fiberglass frames.
- North-facing windows. These age slowest, but they’re also where mold or mildew shows up first because they dry last after rain. Inspect for condensation patterns and caulk separation at the lower corners.
- Windows above driveways, patios, or AC condenser units. Reflected heat and mechanical vibration loosen frame attachments faster than standard exposure. Check for movement when you press gently on the frame.
One detail most checklists miss: bathrooms and laundry rooms. San Antonio humidity during the rainy season can spike to 80% plus, and those rooms hold moisture longer than the rest of the house. Inspect bathroom window weep holes monthly during May through September, even if the rest of the house gets checked twice a year.
If you’re doing a window replacement in San Antonio, ask the installer which exposure your new units are rated for. Not every glass package makes sense on a full south wall, and the right recommendation depends on the house, not on whatever’s in the warehouse.
How to Clear Weep Holes and Inspect Drainage Channels
Weep holes are the small openings along the bottom track of a window frame that let water drain out instead of pooling inside. They’re designed for exactly what San Antonio throws at windows: sudden downpours, wind-driven rain, and long humid stretches. When they clog, water sits in the track, works its way into the frame, and eventually reaches the wood or sheathing behind the window. That’s where the rot starts.
Here’s the step-by-step process, written for the vinyl and aluminum frames most common in San Antonio homes:
- Locate the weep holes. On vinyl windows, they’re typically small rectangular slots on the exterior face of the bottom track, one or two per window depending on width. On aluminum frames, they may be round or oval holes drilled into the bottom rail.
- Check for visible blockage. Look for dirt, dead insects, caliche dust packed into the holes, or paint overspray from a previous exterior job.
- Test the drainage path. Pour a quarter cup of water directly into the interior bottom track, not onto the glass. Watch the exterior weep holes. Water should run out within 10 to 20 seconds. If it doesn’t, or if it trickles slowly and backs up, the channel is blocked.
- Clear the blockage from the exterior side. A wooden toothpick or a stiff piece of 18-gauge wire works. Push gently. Never use anything sharp enough to score the vinyl or widen an aluminum drain hole. You’re clearing, not reaming.
- Flush the track. After clearing, pour another quarter cup of water through and confirm it drains cleanly. Then wipe the interior track dry with a cloth so standing moisture doesn’t sit against the frame.
- Check the slope of the track. The bottom track should be pitched slightly toward the exterior so water flows out by gravity. If it’s level or pitched inward, the window was shimmed incorrectly at installation. That’s a repair call, not a cleaning job.
After a Hill Country storm with heavy wind, do the quarter-cup test on every window that took direct rain. One side of the house may be fine while the other side is packed with leaf debris and dust. A window that drains properly is a window that won’t needLightwell Windows San Antonio home visits for frame damage later.
Testing for Argon Seal Failure Without Any Tools
Double-pane windows don’t fail loudly. They fail slowly, over two or three San Antonio summers, with a haze that starts at the edge of the glass and creeps inward. By the time it’s obvious from across the room, the thermal performance is already gone, and the only real fix is a new insulated glass unit or our Window Replacement services.
The test itself takes 30 seconds and requires nothing but your eyes and a specific time of day. Here’s how to do it properly:
- Check in the morning, before the house warms up. Stand three feet from the window and look at the glass at a slight angle, not straight on. Edge fog looks like an oily film or a faint white bloom near the spacer bar, the metal strip around the glass perimeter. In morning light, this shows up as a haze that doesn’t wipe off.
- Check the same window again in the afternoon. San Antonio’s afternoon heat expands the air between the panes. A failing seal will sometimes show a visible distortion, like a convex or concave warping, in the center of the glass. It’s subtle, but if you compare morning and afternoon carefully, you’ll see the glass change shape slightly.
- Look for condensation you can’t wipe. Moisture between the panes, not on the room side or exterior side, means the seal has already opened and the desiccant inside the spacer bar is saturated. That window is done. It’s not a cleaning problem.
- Run a finger along the glass surface from top to bottom. A warped or stressed pane will occasionally show a faint vibration or a distortion in reflection, especially on west-facing windows that take the most thermal cycling. If the reflection looks wavy where the glass should be flat, the unit is under stress.
Seal failure is the most over-looked maintenance item on San Antonio windows because the early stages are invisible unless you look at the right time of day. Manufacturers like CWS and ES Windows build argon-filled units with low failure rates, but even the best seal has a stress limit, and San Antonio’s July-to-September temperature swings test that limit every single year.
If you spot edge fog on one window, check the rest of the house the same week. Seal failures cluster, especially on windows from the same original install and the same exposure. One fogged unit often means two or three more are on the way.
The Right Caulk Chemistry for San Antonio Temperature Swings
Caulk is the first line of defense between your window frame and the outside air, and San Antonio is rough on it. A summer afternoon at 100 degrees followed by a Hill Country thunderstorm at 70 degrees means the caulk joint compresses and expands daily from May through September. The wrong caulk cracks in one season. The right caulk lasts five to seven years.
Here’s the chemistry that works in this climate, and where each type belongs:
- Silicone caulk goes on the exterior perimeter, where the frame meets the brick, stucco, fiber cement, or wood siding. Silicone handles the broadest temperature range and won’t crack with movement. The downside: silicone doesn’t take paint, so it’s for joints you don’t need to repaint. Use a neutral-cure silicone, not an acid-cure, because acid-cure can etch glass and react with some metal window frames over time.
- Siliconized latex caulk goes on the interior perimeter, where the window casing meets the drywall. It’s paintable, easier to tool cleanly, and flexible enough for the smaller interior temperature range. It won’t bridge the large gaps that silicone will, so don’t substitute it on the exterior.
- Butyl rubber caulk belongs in the rough opening, between the window flange and the framing, behind the exterior trim. You won’t see this joint once trim is up, but it’s the one that matters most for water intrusion. If you’re having windows installed, ask which sealant the crew uses at the flange. A quality window installation in San Antonio includes a continuous butyl or flashing tape seal, not just caulk around the outside face.
The telltale sign of caulk failure is a hairline crack along the top or bottom corners of the window surround, often accompanied by a faint dirt line where dust has worked into the joint. Check those corners every fall, before the winter temperature swings start. A tube of silicone is $8. Replacing a sill plate that’s been quietly absorbing water through a cracked joint for two years is a very different number.
While you’re caulking, take a look at door installation in San Antonio thresholds too. Doors and windows share the same weather seal problems, and a door that leaks air around the threshold is often sitting right next to a window with the same issue.
A Written Record Template That Saves You Money Later
The single most useful thing a San Antonio homeowner can keep is not a tool; it’s a piece of paper. A written maintenance log tells you which windows have been repaired, which have been watched, and which are due for replacement. When you call a contractor, that record makes the difference between a 20-minute accurate call and a 45-minute guess.
Here’s the template we recommend. Keep one sheet per room, or one sheet per window if the house is older or has mixed window types.
- Window location and exposure (example: master bedroom, south wall, second from left).
- Manufacturer and glass package (if known, from the sticker on the interior frame or the original contract).
- Date of installation or best estimate.
- Date of each inspection and what you found: edge fog, weep hole blockage, caulk cracks, condensation between panes, track misalignment, or none.
- Repairs performed and the date: weep hole clearing, caulk bead replacement, weatherstripping replacement, hardware adjustment.
- Date and result of the quarter-cup weep hole test after major storms.
- Photos, especially of seal failure patterns or caulk cracks. Morning light photos are best; they show the edge haze more clearly than afternoon glare.
This record does two things. First, it shows you which windows are actually failing over time, rather than which ones feel like they might be failing. Second, it lets a contractor price the work accurately on the first call. If you can say “the three west-facing bedrooms have edge fog starting, the master bath weeps holes clog every summer, and the kitchen window is fine,” the quote conversation takes five minutes and the number you get back is the number the job will cost.
When a San Antonio homeowner calls us with a maintenance concern, Keith and the team start with what they’ve observed, not with a pitch. The more detail you have in your log, the more accurate that first number is.
Storm Season Checks After Hill Country Rains
San Antonio doesn’t get a slow, gentle rain season. It gets a week of scattered showers, then a three-hour downpour that drops two inches in an afternoon, then two weeks of dry heat. That cycle is brutal on window drainage systems because the downpour pushes dirt, leaf litter, and caliche dust into the weep holes, and the dry heat bakes it into a hard plug before the next rain can flush it.
After any storm that leaves standing water in your yard, spend 20 minutes doing this:
- Check every window that took direct wind-driven rain. That’s typically the south and east faces in a San Antonio storm, but in severe weather it’s the whole house. Do the quarter-cup test described in the weep hole section.
- Inspect the caulk joints at the top corners of each window, where wind pressure flexes the frame the most. Look for fresh hairline cracks or any soft spots in the caulk that weren’t there before.
- Check interior sills and drywall at the bottom corners for moisture staining. A brown or yellow line at the drywall corner means water has already worked its way in, even if the sill feels dry.
- Check weatherstripping on window sashes for grit or caked dust. After a heavy dust storm followed by rain, caliche dust packs into the pile weatherstripping and prevents a full seal. This feels like a drafty window but is really just a dirty gasket. A damp cloth and a toothbrush clear it most of the time.
- If any window shows water inside the track after 24 hours, or if the drywall is damp to the touch, don’t wait. A frame that’s holding water is already in the early stages of decay. That’s a call to a professional, not an entry in the log.
The goal of a storm-season check isn’t to prevent every leak; it’s to catch leaks while they’re still a weatherstripping or weep hole problem. Every month a wet frame sits unnoticed in San Antonio’s humidity is a month of fungal growth and wood rot you’ll pay for later.
Common Mistakes to Avoid
- Skipping the quarter-cup test because the weep holes look clear. A weep hole can be open at the face but blocked two inches inside the channel. The only way to know the drainage path is clear is to run water through it and watch it come out the other end. Looking at the hole tells you nothing.
- Using the wrong caulk on the exterior. Latex caulk on a San Antonio west-facing window cracks in one summer. It handles less than half the movement range of silicone and the UV exposure here eats it alive. If you’re caulking the exterior perimeter, use a neutral-cure silicone and tool it in one continuous bead with no skips.
- Ignoring edge fog until it’s visible from across the room. By the time you can see fog from the couch, the argon is gone and the window’s insulating value has dropped to roughly that of a single pane. Morning inspections catch seal failure one to two years earlier, when a glass unit replacement is still on the table instead of a full frame replacement.
- Replacing one window at a time without checking the rest of the exposure. If one west-facing window has seal failure, the other west-facing windows from the same original install are often right behind it. Replacing them one at a time means paying for mobilization and trim work four times instead of once.
- Not keeping a written log because “you’ll remember.” You won’t. Not across eight windows, three storm seasons, and a busy year. The log is the difference between knowing your windows and guessing.
- Cleaning weep holes with a metal pick or screwdriver. One slip and you’ve scored the bottom track, which creates a water channel into the frame itself. You can also widen an aluminum weep hole, which changes the drainage design. Toothpick or soft wire only.
- Painting over weep holes during an exterior repaint. This is common in San Antonio neighborhoods where homes were painted between owners. A little paint in a small weep hole blocks it entirely. After any exterior paint job, run the quarter-cup test on every window.
When to Call a Professional
Some window conditions are maintenance problems. Others are structural failures wearing a maintenance disguise. You should call a trained installer when you see condensation between panes that doesn’t dry out, active water intrusion into drywall or flooring, a window that won’t close or lock because the frame has shifted, or evidence that the rough opening itself is compromised. These are not caulk-and-clear situations. They require someone who can open the wall, assess the framing, and tell you honestly whether a repair or a full replacement makes more sense. For context on permits and inspections, see Windows & Doors Permits, Codes & Inspections in TX: What You Need to Know.
Lightwell Windows San Antonio offers free estimates throughout San Antonio, with a written price before any work starts. On every visit, our background-checked technicians follow C.A.R.E. values: Clean up like it’s our own home, Ask before moving anything, Respect your family’s time and quiet hours, and Explain the price before the work. We carry eight manufacturer brands, so the recommendation matches the home’s exposure and your family’s needs, not a sales rep’s quota. Call (325) 420-4173 to schedule a free estimate.
Frequently Asked Questions
Check weep holes and drainage channels after every storm that leaves standing water in your yard. Do a full seal failure and caulk inspection twice a year, once in early fall before the temperature swings start and once in early spring before the rainy season. Windows on south and west exposures deserve a monthly glance during summer because that’s where seal failures begin.
The earliest sign is a faint haze or white bloom at the edge of the glass that is most visible in morning light at a slight angle. You may also see condensation between the panes that can’t be wiped from either side, or a subtle distortion in the glass reflection on hot afternoons. If you see edge fog on one window, inspect the neighboring units on the same wall that same week. Call (325) 420-4173 if you’re not sure whether what you’re seeing is a cleanable film or a failed seal; our team can check it during a free estimate.
Sometimes yes. If the frame is true, the sash hardware is in good condition, and the surrounding weather seal is intact, an insulated glass unit replacement may be all that’s needed. This works best when the window has a removable glass stop that allows access to the glazing pocket. If the frame has warped, the track is misaligned, or the existing unit no longer meets energy code requirements, a full window replacement makes more financial sense. See Windows & Doors Cost Breakdown: The San Antonio Homeowner’s Reference for 2026 for typical pricing. Our team will show you both options with written pricing before you commit to either one.
Morning fog on the room side of the glass is condensation from San Antonio’s high overnight humidity meeting a cool glass surface. It wipes off and is usually harmless. Morning fog between the panes is seal failure. The difference matters: one is a humidity management issue, the other is a dead window. If the fog is between the panes, a glass replacement is the only real fix, and postponing it means paying the same amount later while living with higher energy bills in the meantime.
Yes, directly. A window with failed seals loses most of its insulating value and leaks air around the frame once the weatherstripping hardens. In a San Antonio summer, that means your AC runs longer to hold the same interior temperature. Restoring seals and weatherstripping typically pays for itself within one or two cooling seasons. Most window replacements in our market run between $600 and $1,200 per opening depending on size, glass package, and frame condition, so maintenance is nearly always the cheaper first step.
Quality vinyl and aluminum windows installed correctly in San Antonio typically last 20 to 25 years before replacement makes sense, though the glass seals and weatherstripping may need attention at the 10-to-15-year mark. Windows on harsh south and west exposures tend to land on the shorter end of that range. Windows installed improperly or with cheap sealant can fail in under a decade. The maintenance log beats the average every time because it tells you which windows are actually aging and which are fine.
The Bottom Line
The windows that last longest in San Antonio are not the most expensive ones. They’re the ones that get looked at. A toothpick through a weep hole twice a year, a morning look for edge fog on the west wall, a $8 tube of silicone on the cracks before they open, and a written log that tells you the truth about what’s aging and what isn’t. That’s the whole system. Catching seal failure early means a glass unit instead of a frame. Catching a clogged weep hole early means a toothpick instead of a framing repair. And if you’re not sure what you’re seeing, a free estimate costs nothing and gives you an honest answer with the price in writing before anything gets touched. For more guides & resources, explore our blog.
Written by Keith Yamada, Owner at Lightwell Windows San Antonio, serving San Antonio since 2010.
See the difference
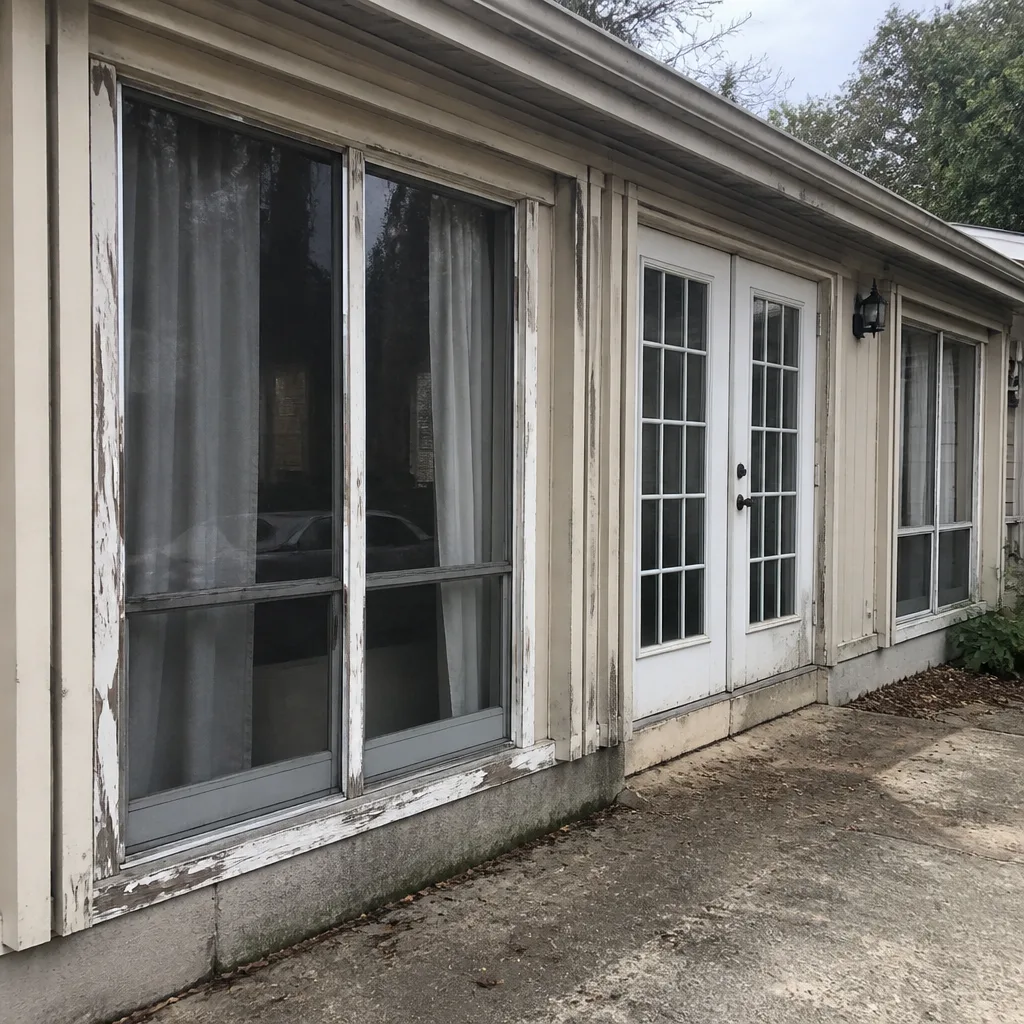 Before
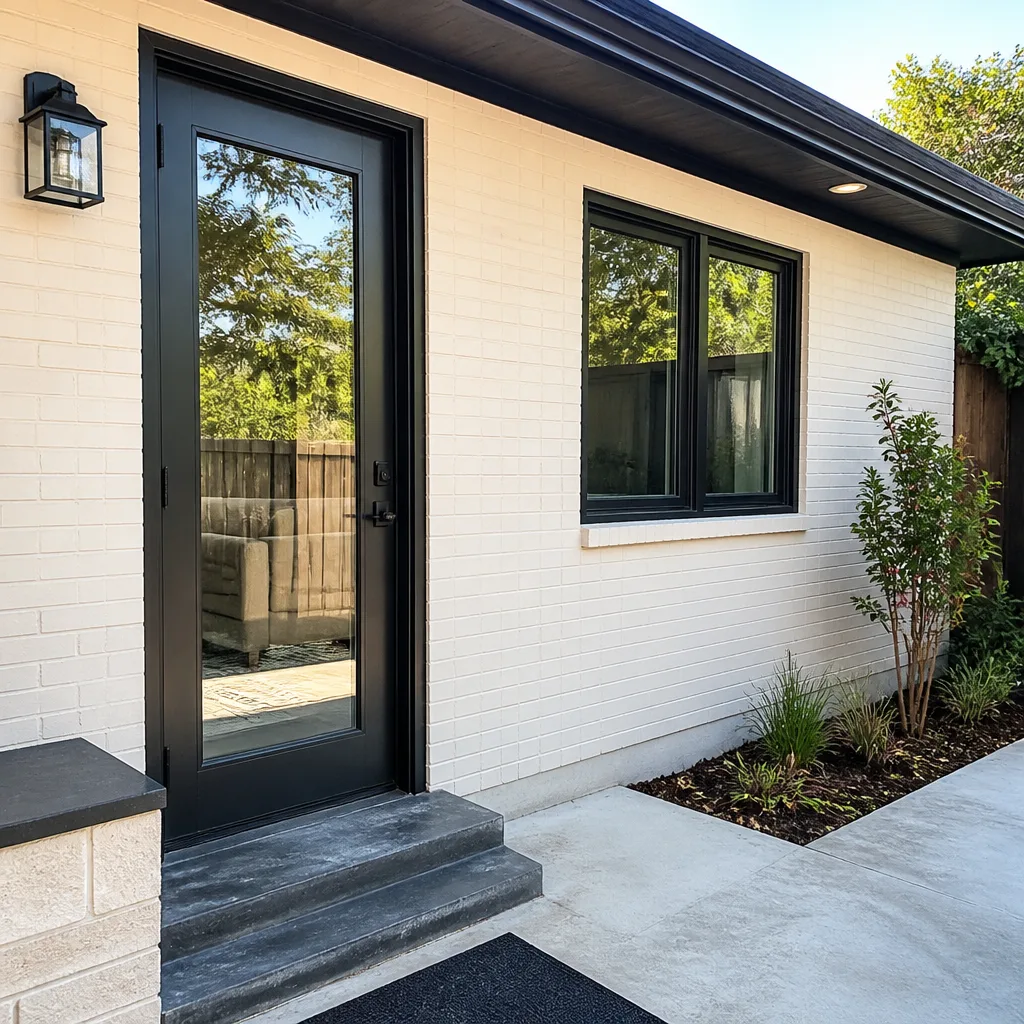 After
After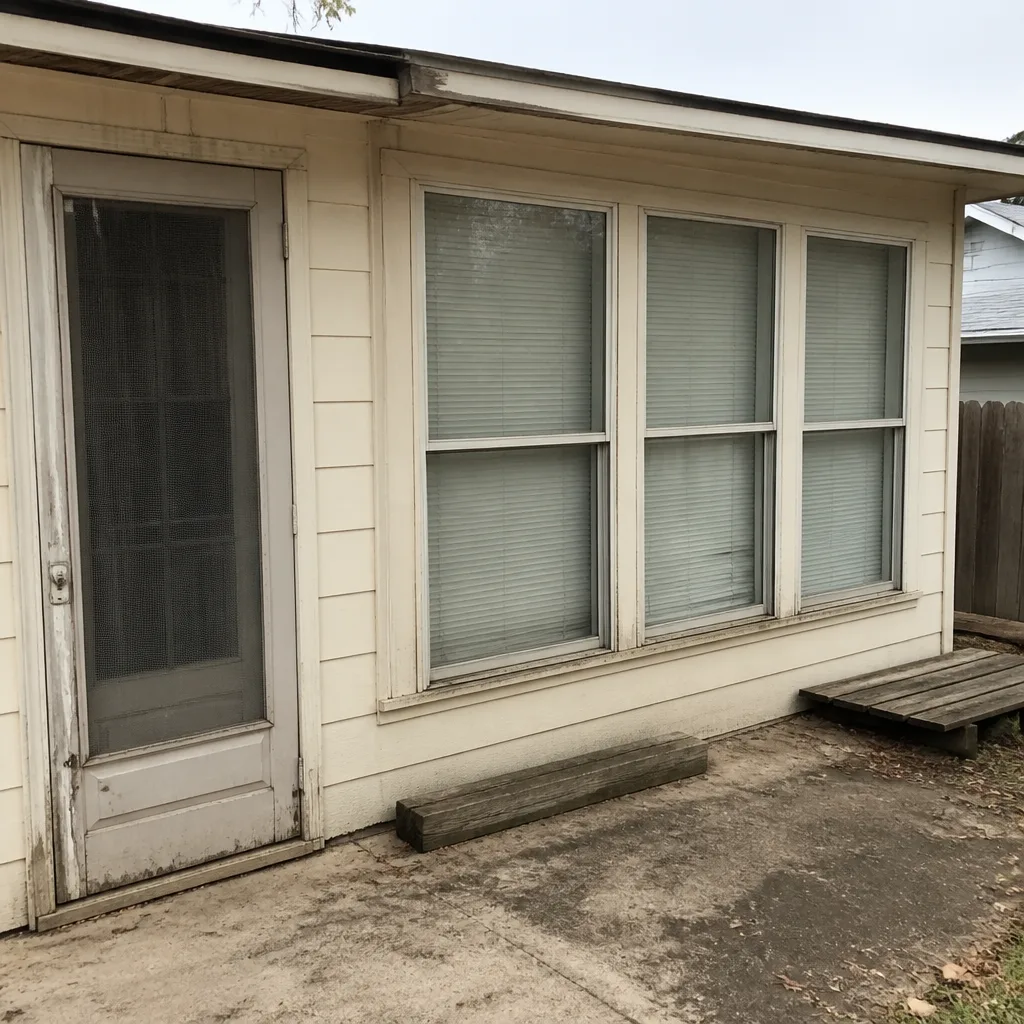 Before
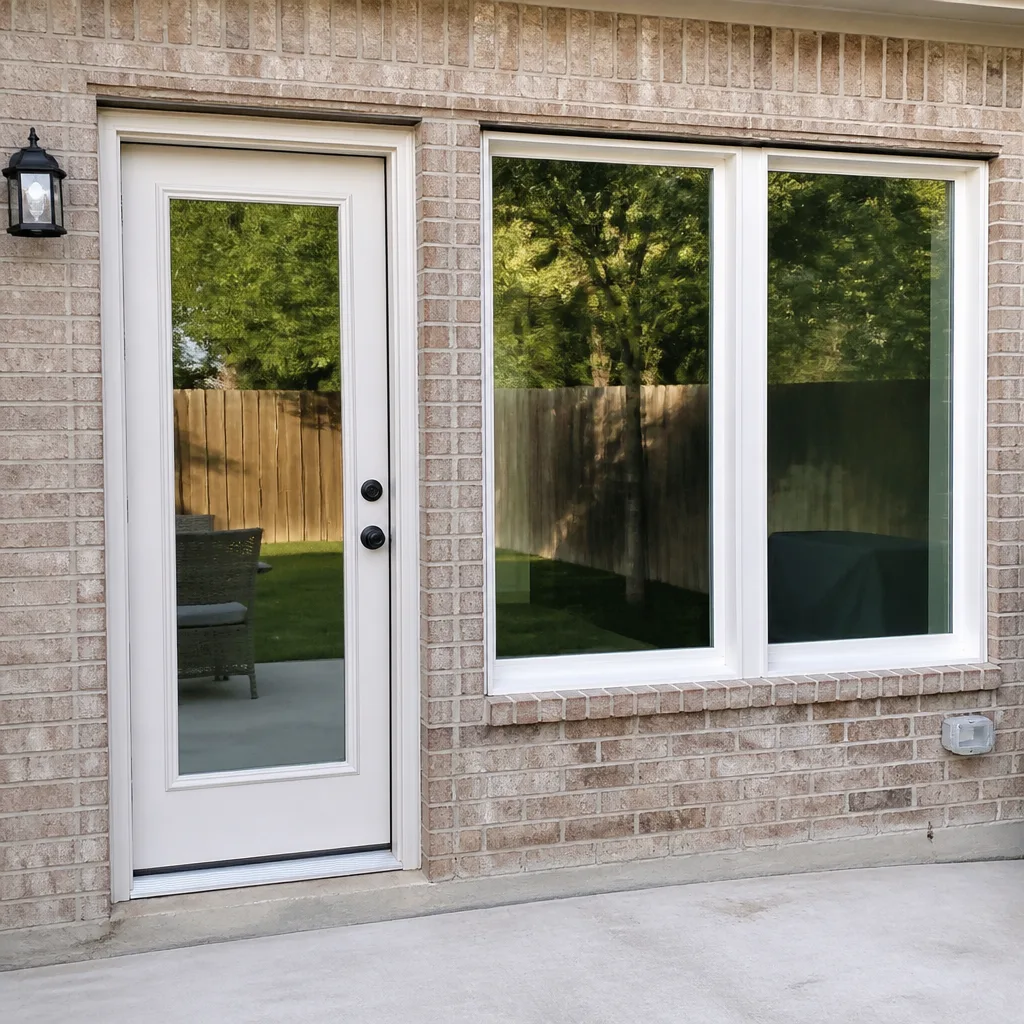 After
After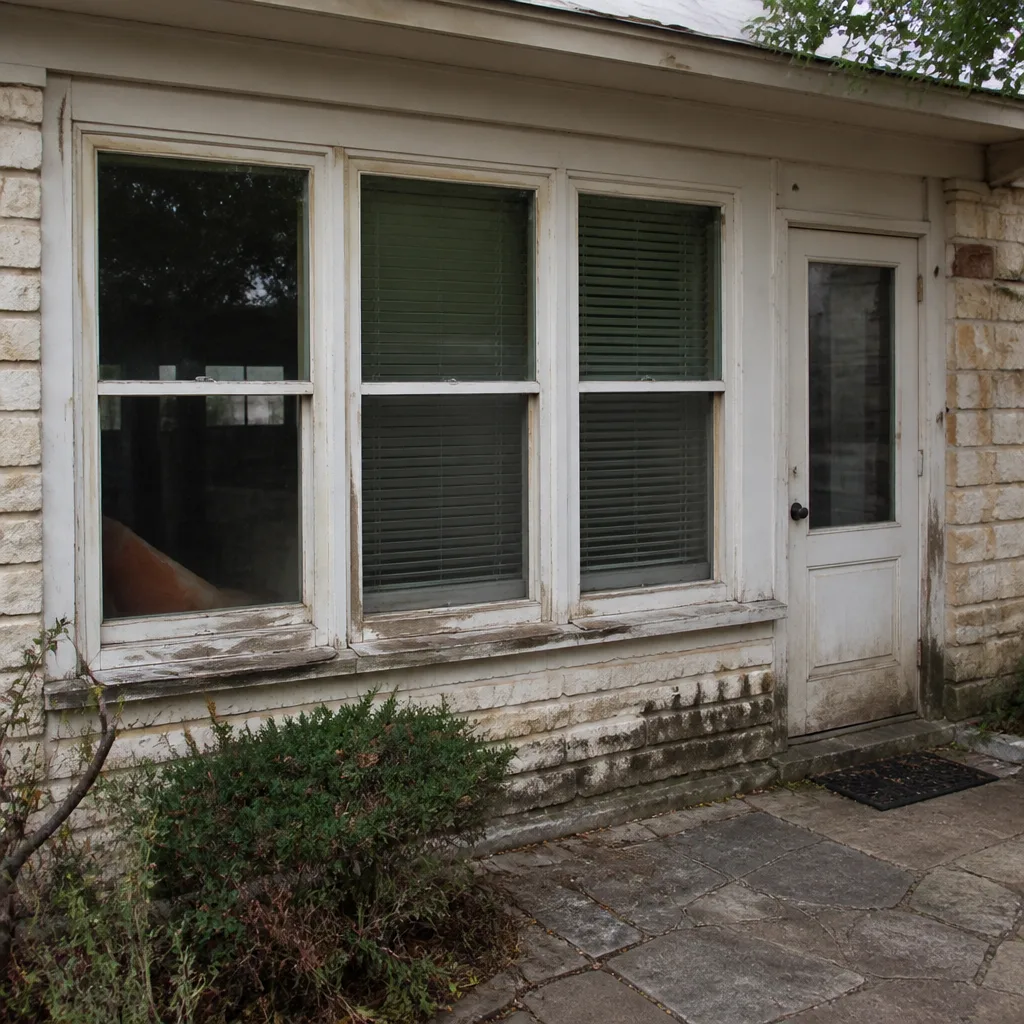 Before
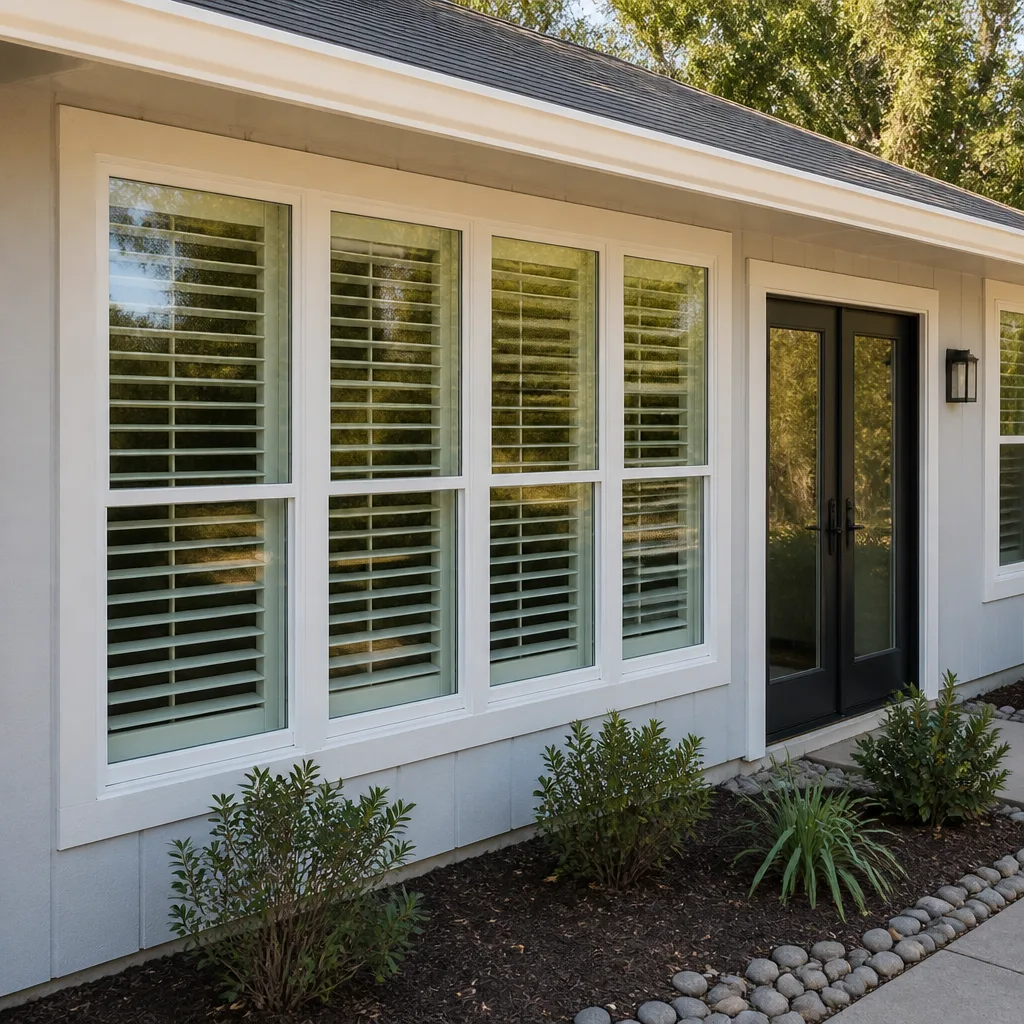 After
AfterSix Reasons Homeowners Choose Lightwell Windows San Antonio
Laminated glass and reinforced frames hold up to wind-driven rain, hail and flying debris, so your openings stay sealed when the weather turns.
Low-E insulated impact glass from our manufacturer lines commonly cuts monthly cooling bills 20-30%.
Laminated impact glass shuts out up to 40% of outside noise - traffic, neighbors, weather.
Monitoring services run $30-90 a month. Laminated impact glass resists forced entry around the clock, with no subscription.
Tighter seals and insulated glass even out hot and cold rooms and stop the drafts at the frame.
A full impact package upgrades curb appeal, buyer confidence and appraised value in one project.